How to Create Artificial Sunlight for Photography -JoFaux Sunlight Technique
One of the reasons I love photography so much is no matter how much you learn, there is always something more, or new, or a different way to approach a situation. The possibilities are endless. Our first one is a doozy, so toss the sand bags and hold on to those c-stands. Let’s go!
Why we like shooting on cloudy days — it’s probably not why you think!
Remember that summer it rained every Saturday for two months straight, and all the wedding pros wanted to invest in umbrella hats? Yes the year of 2013, the year of bridesmaids in rain boots and bubble umbrellas.
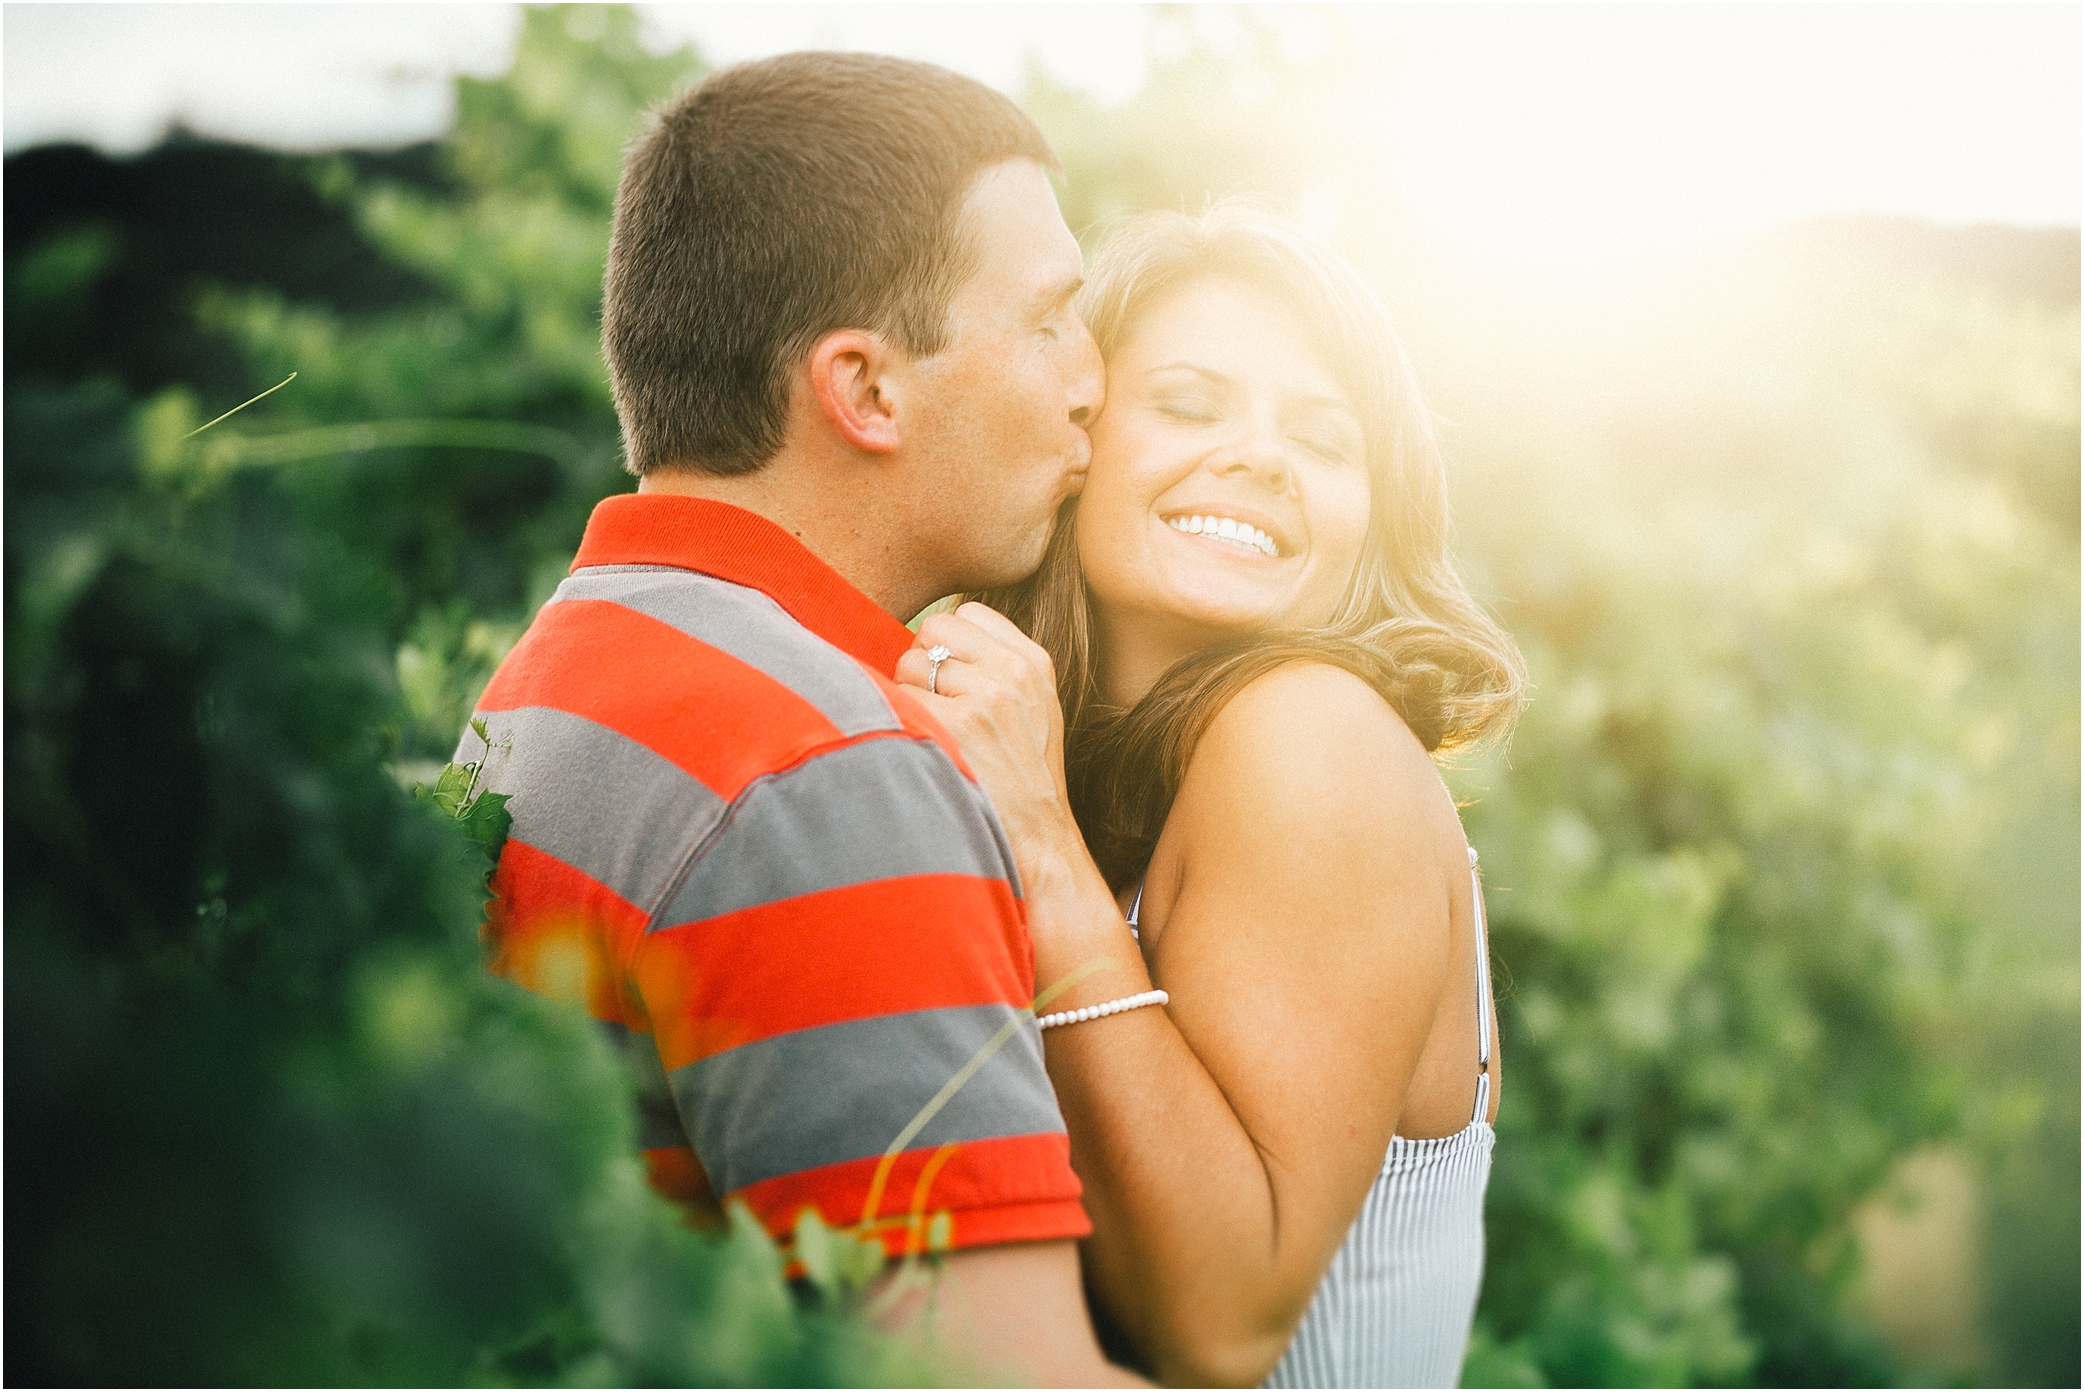
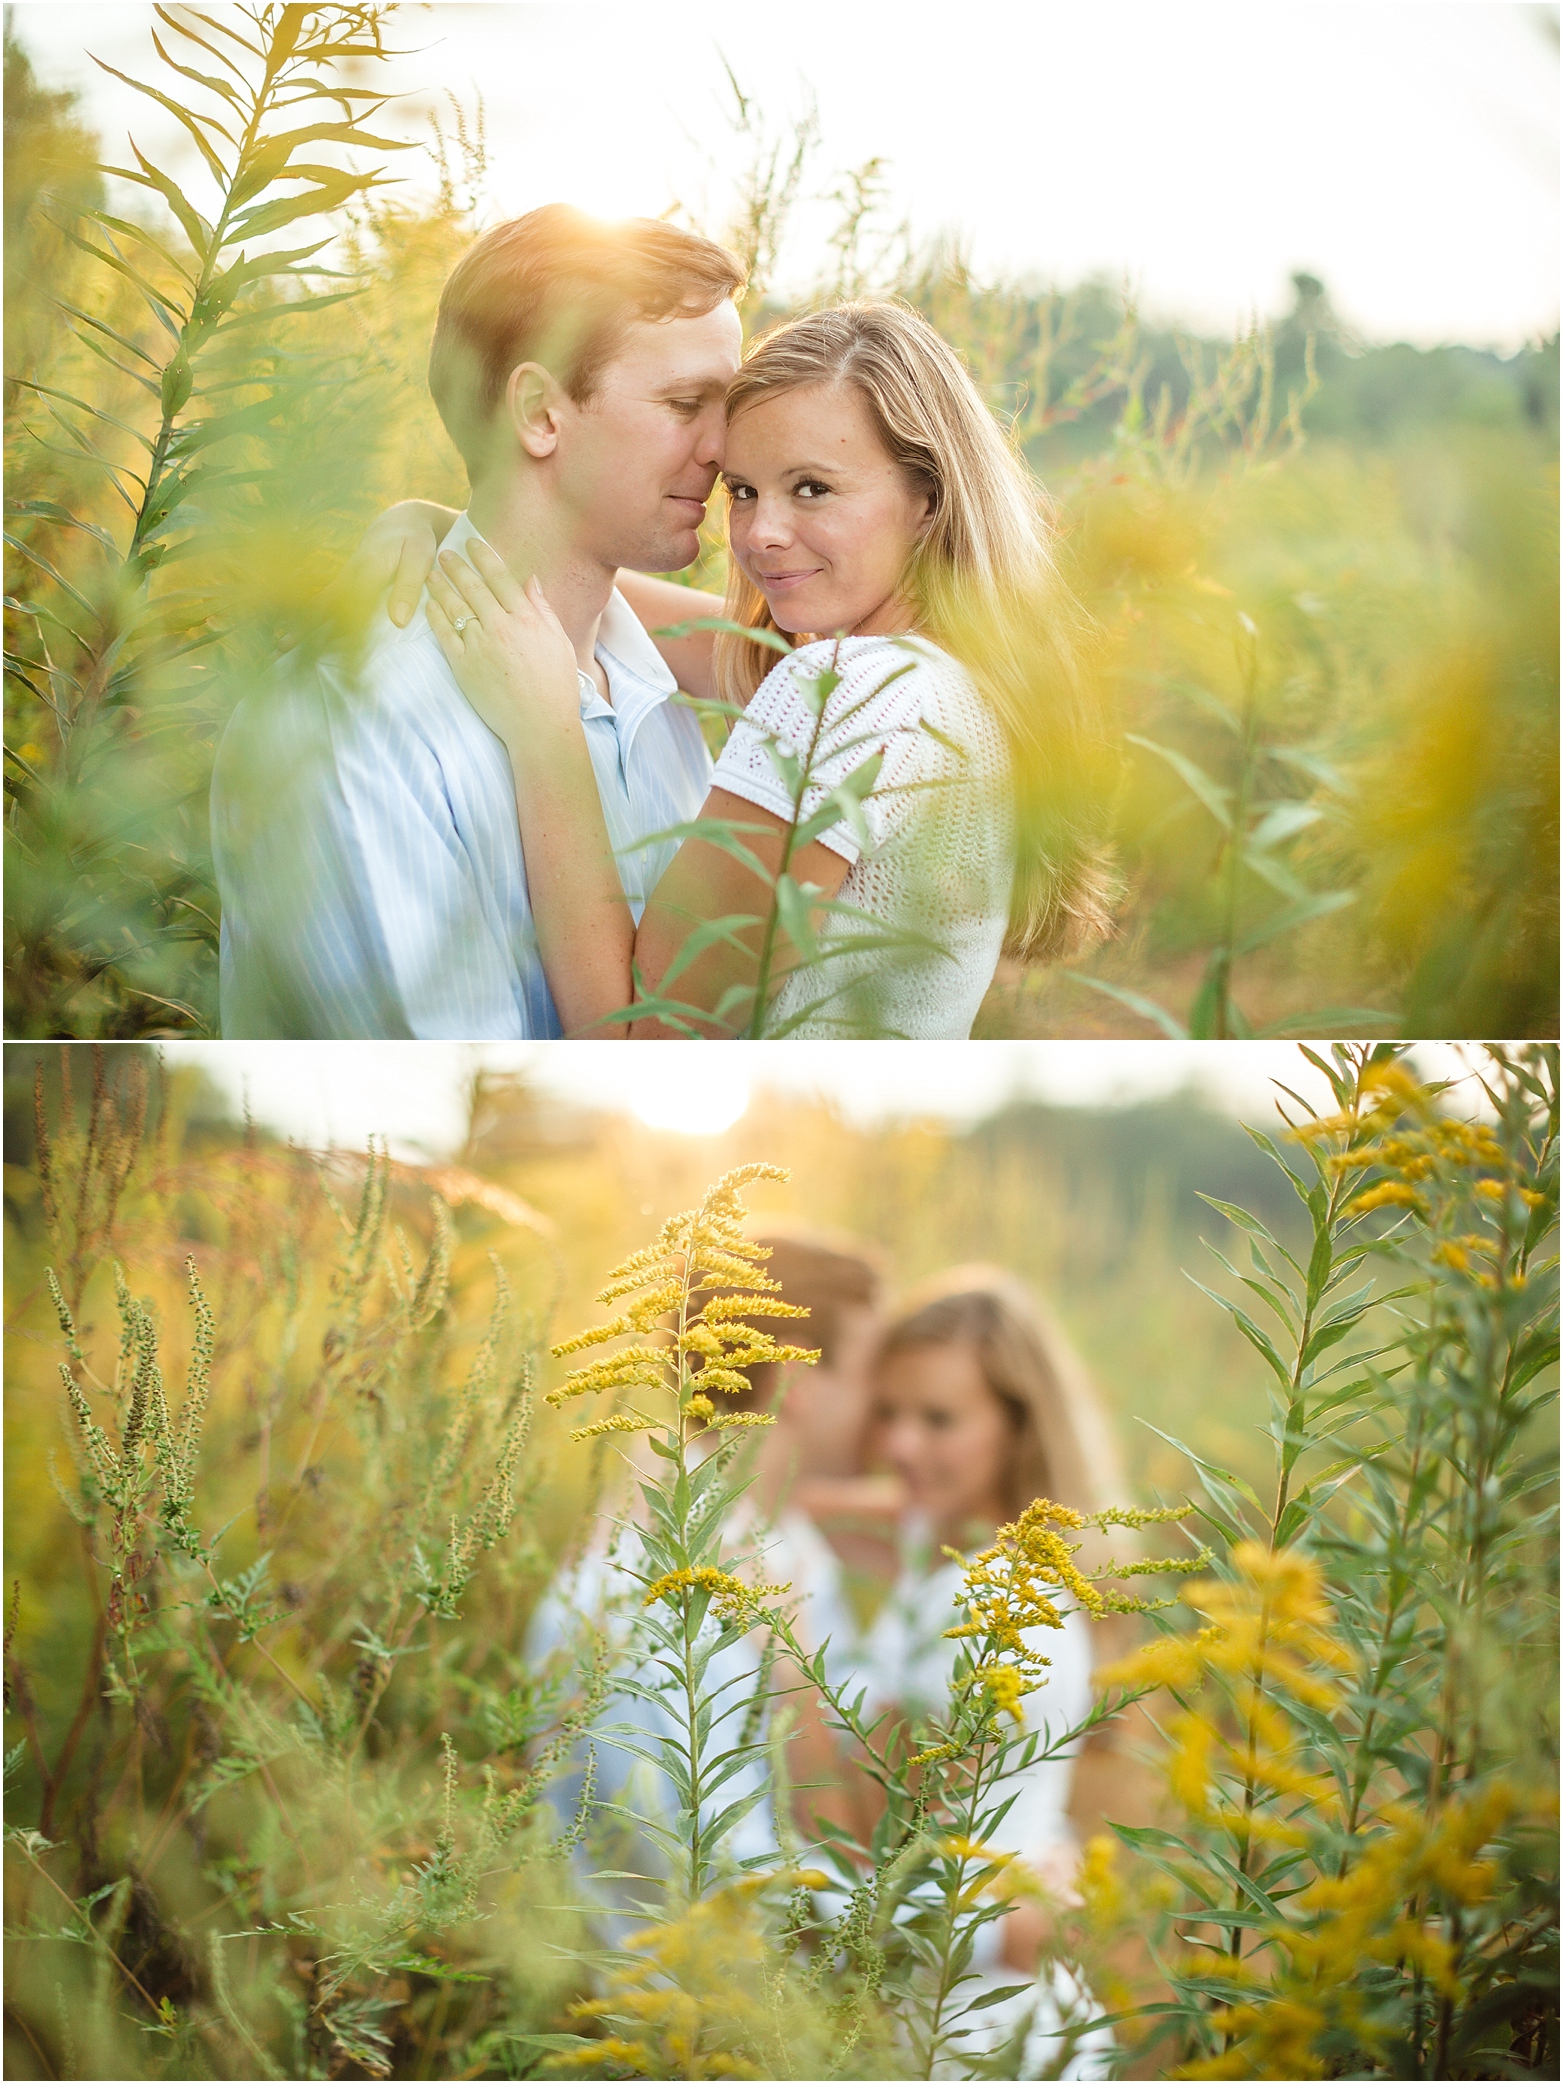
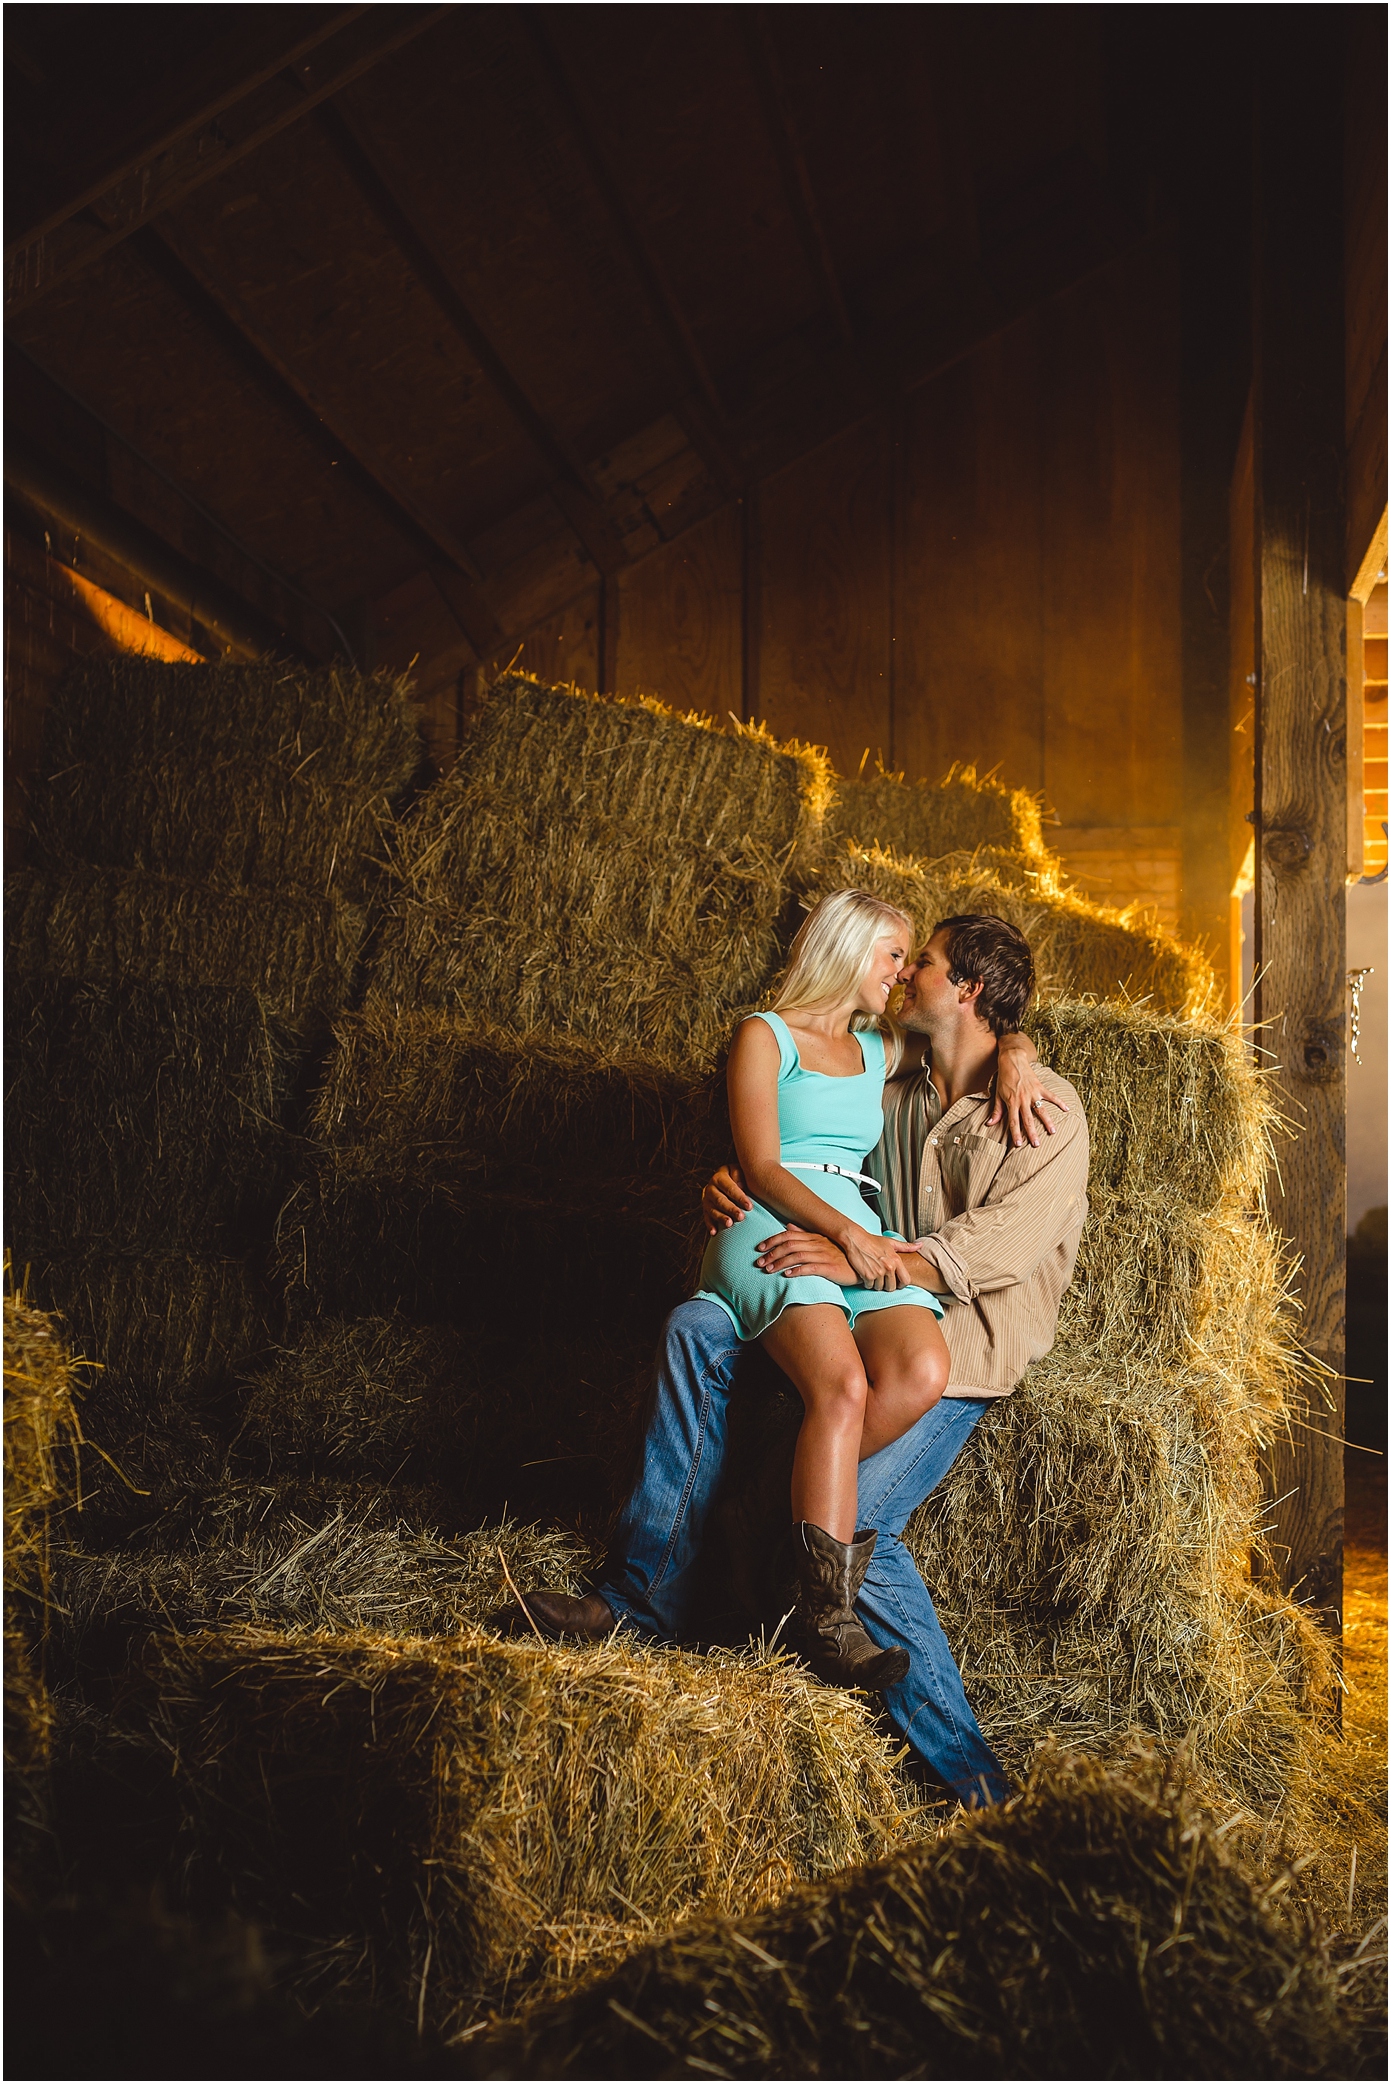
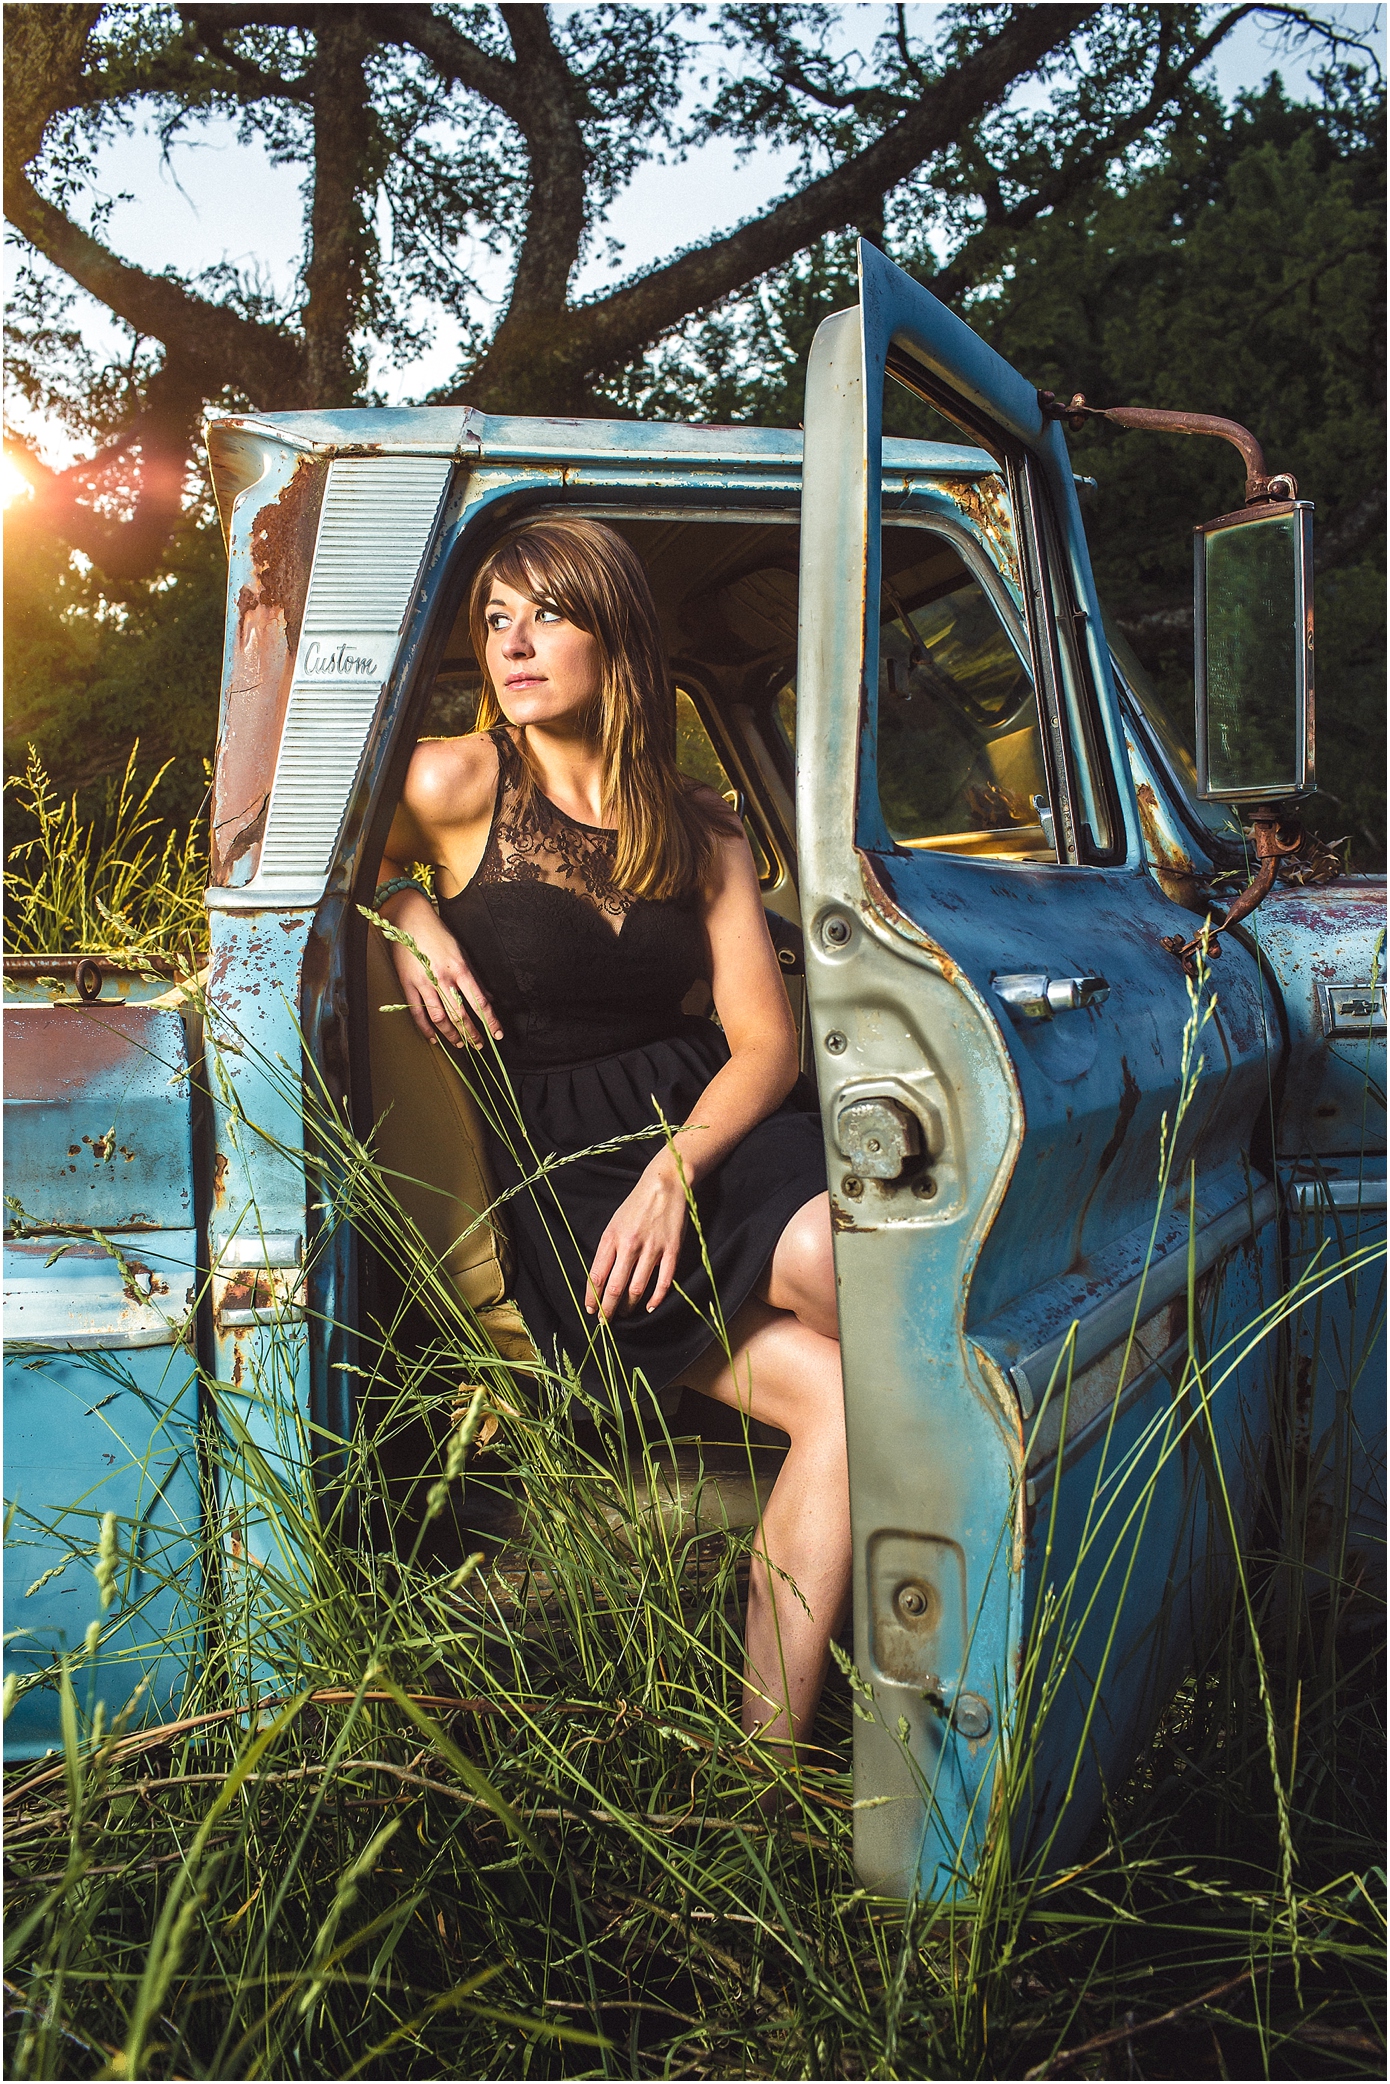
You always here people ask, “Cloudy days are the best for photos, right?” Well, I don’t think they are better, but they are easier. Cloudy days are easier to shoot on because you can practically shoot anywhere in most any direction. Today, we are going to discuss shooting on cloudy days because we can create artificial sunlight (aka a rim light) just about anywhere we want. This technique has recently been dubbed the “JoFaux Sunlight Technique.” All the photos in this blog post were shot on cloudy days, and we created the look of a bright and sun-shiny day.
How to Create Artificial Sunlight for Photography – JoFaux Sunlight Technique
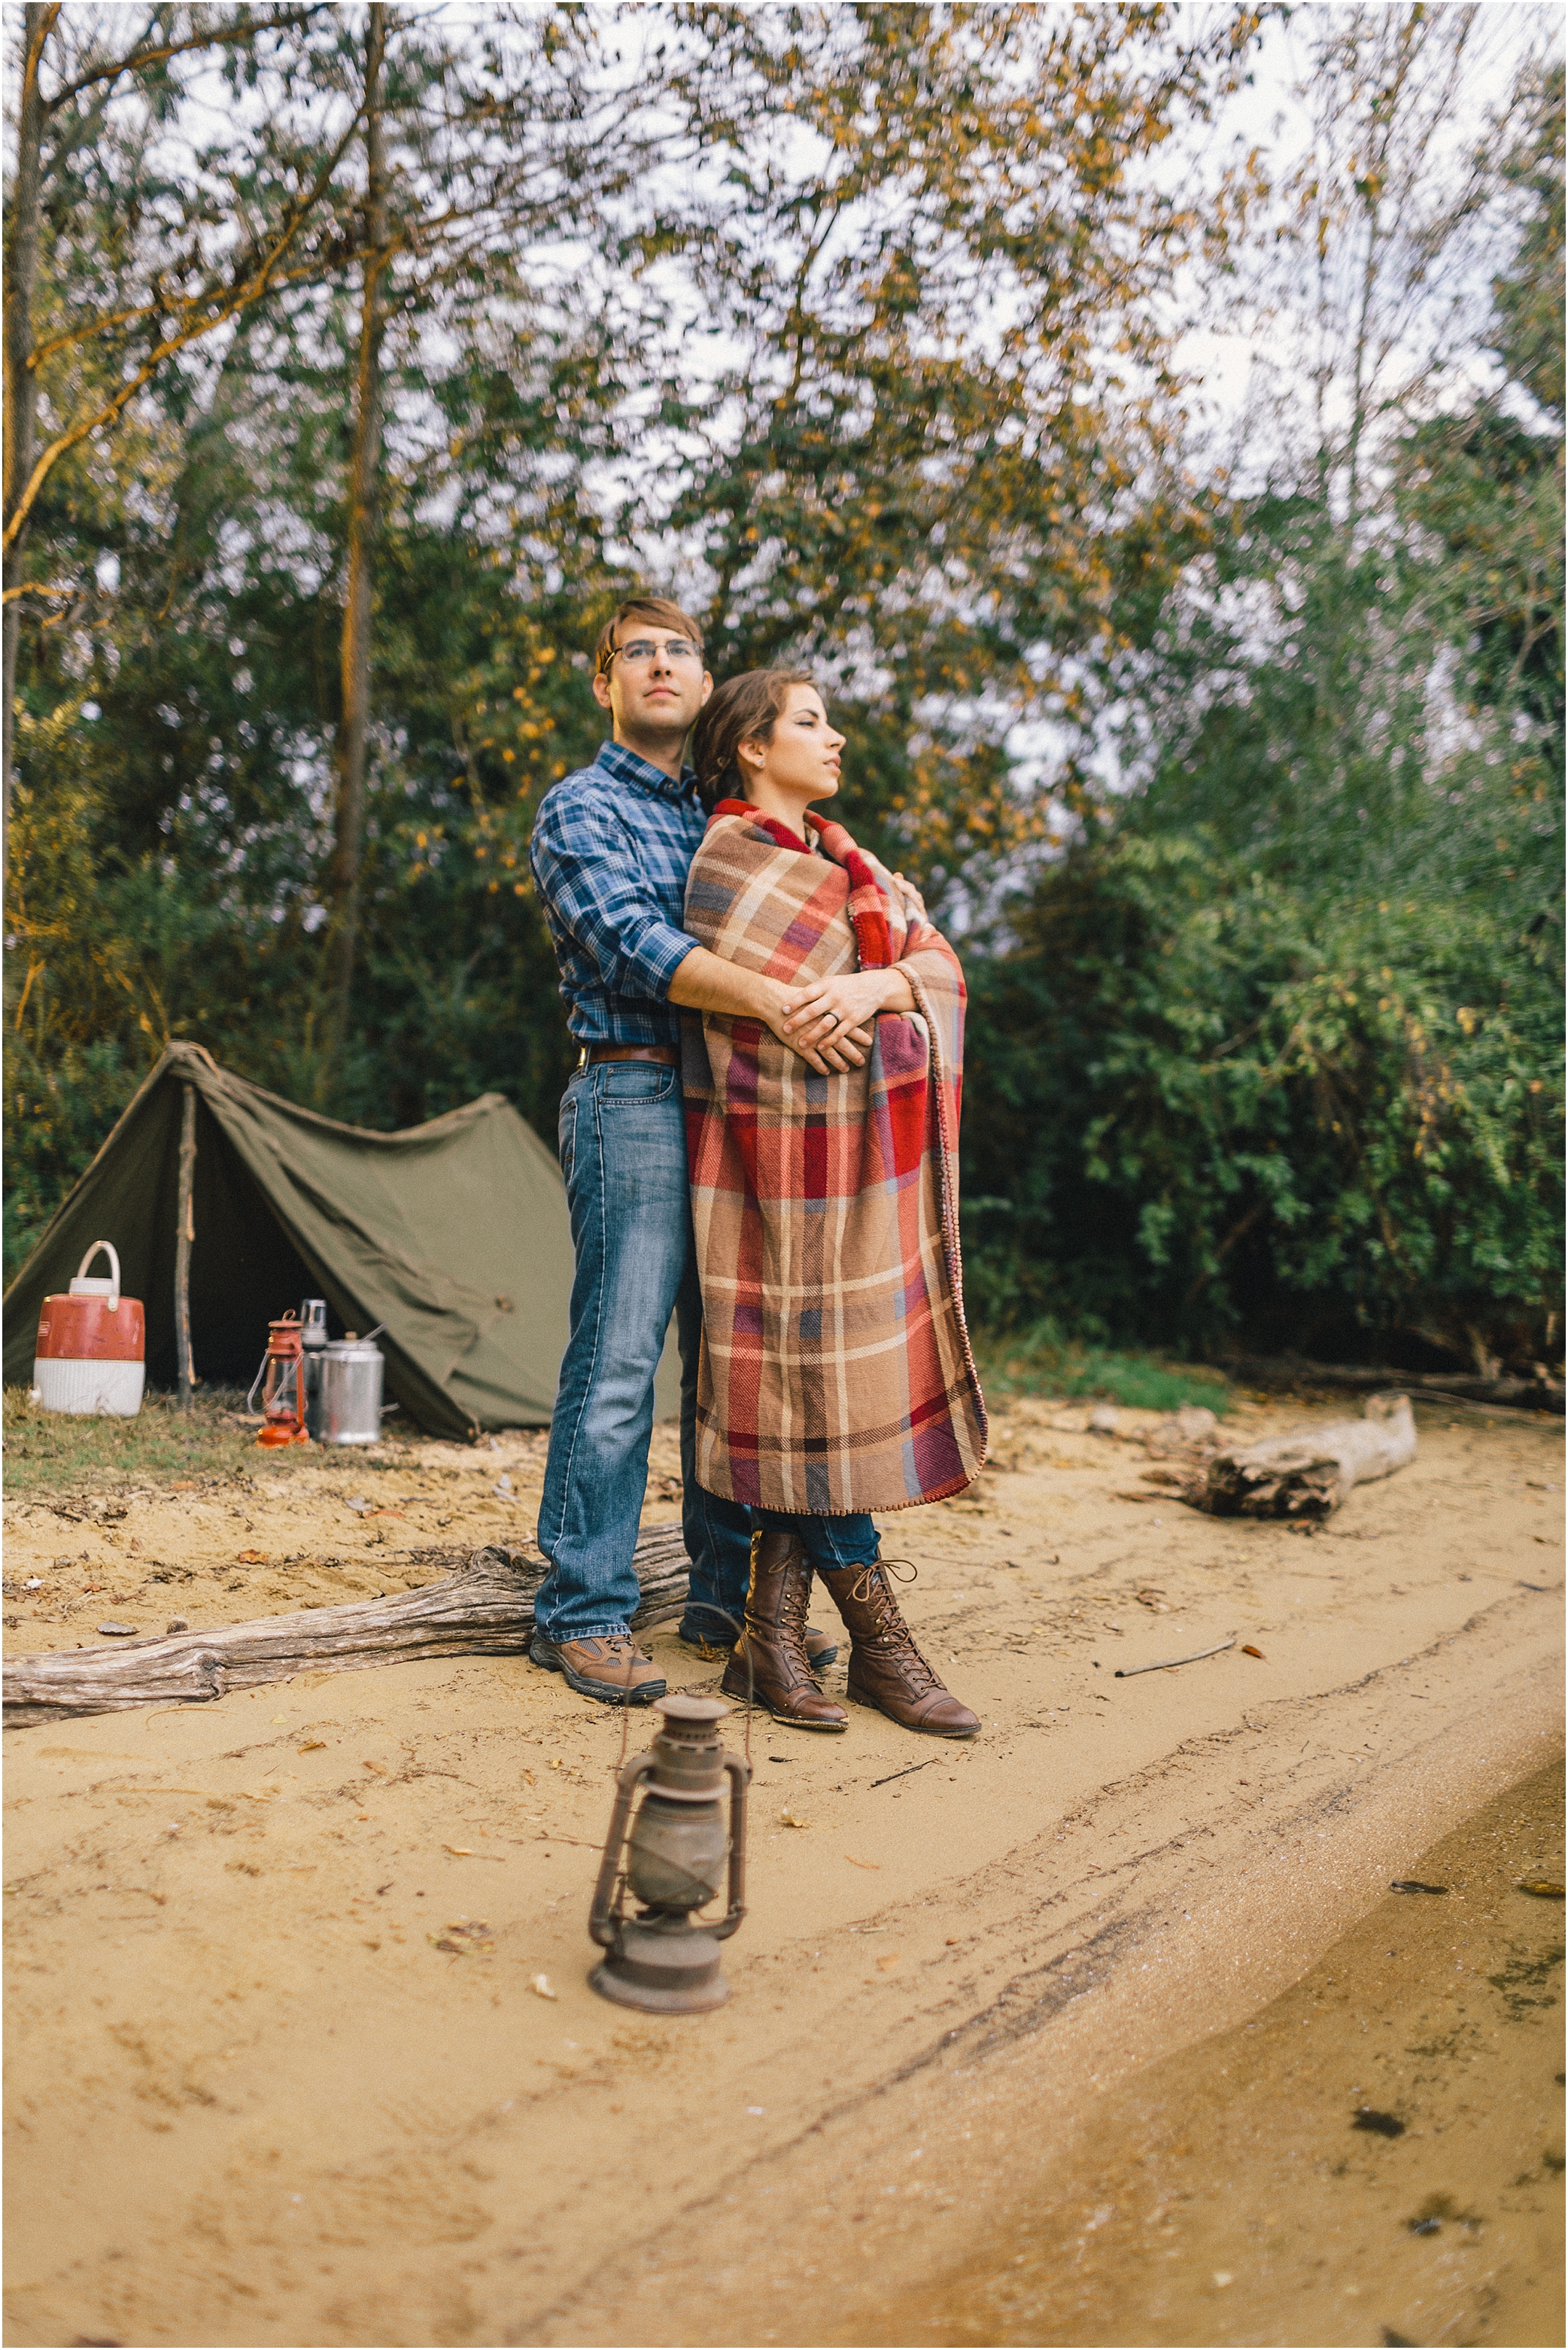
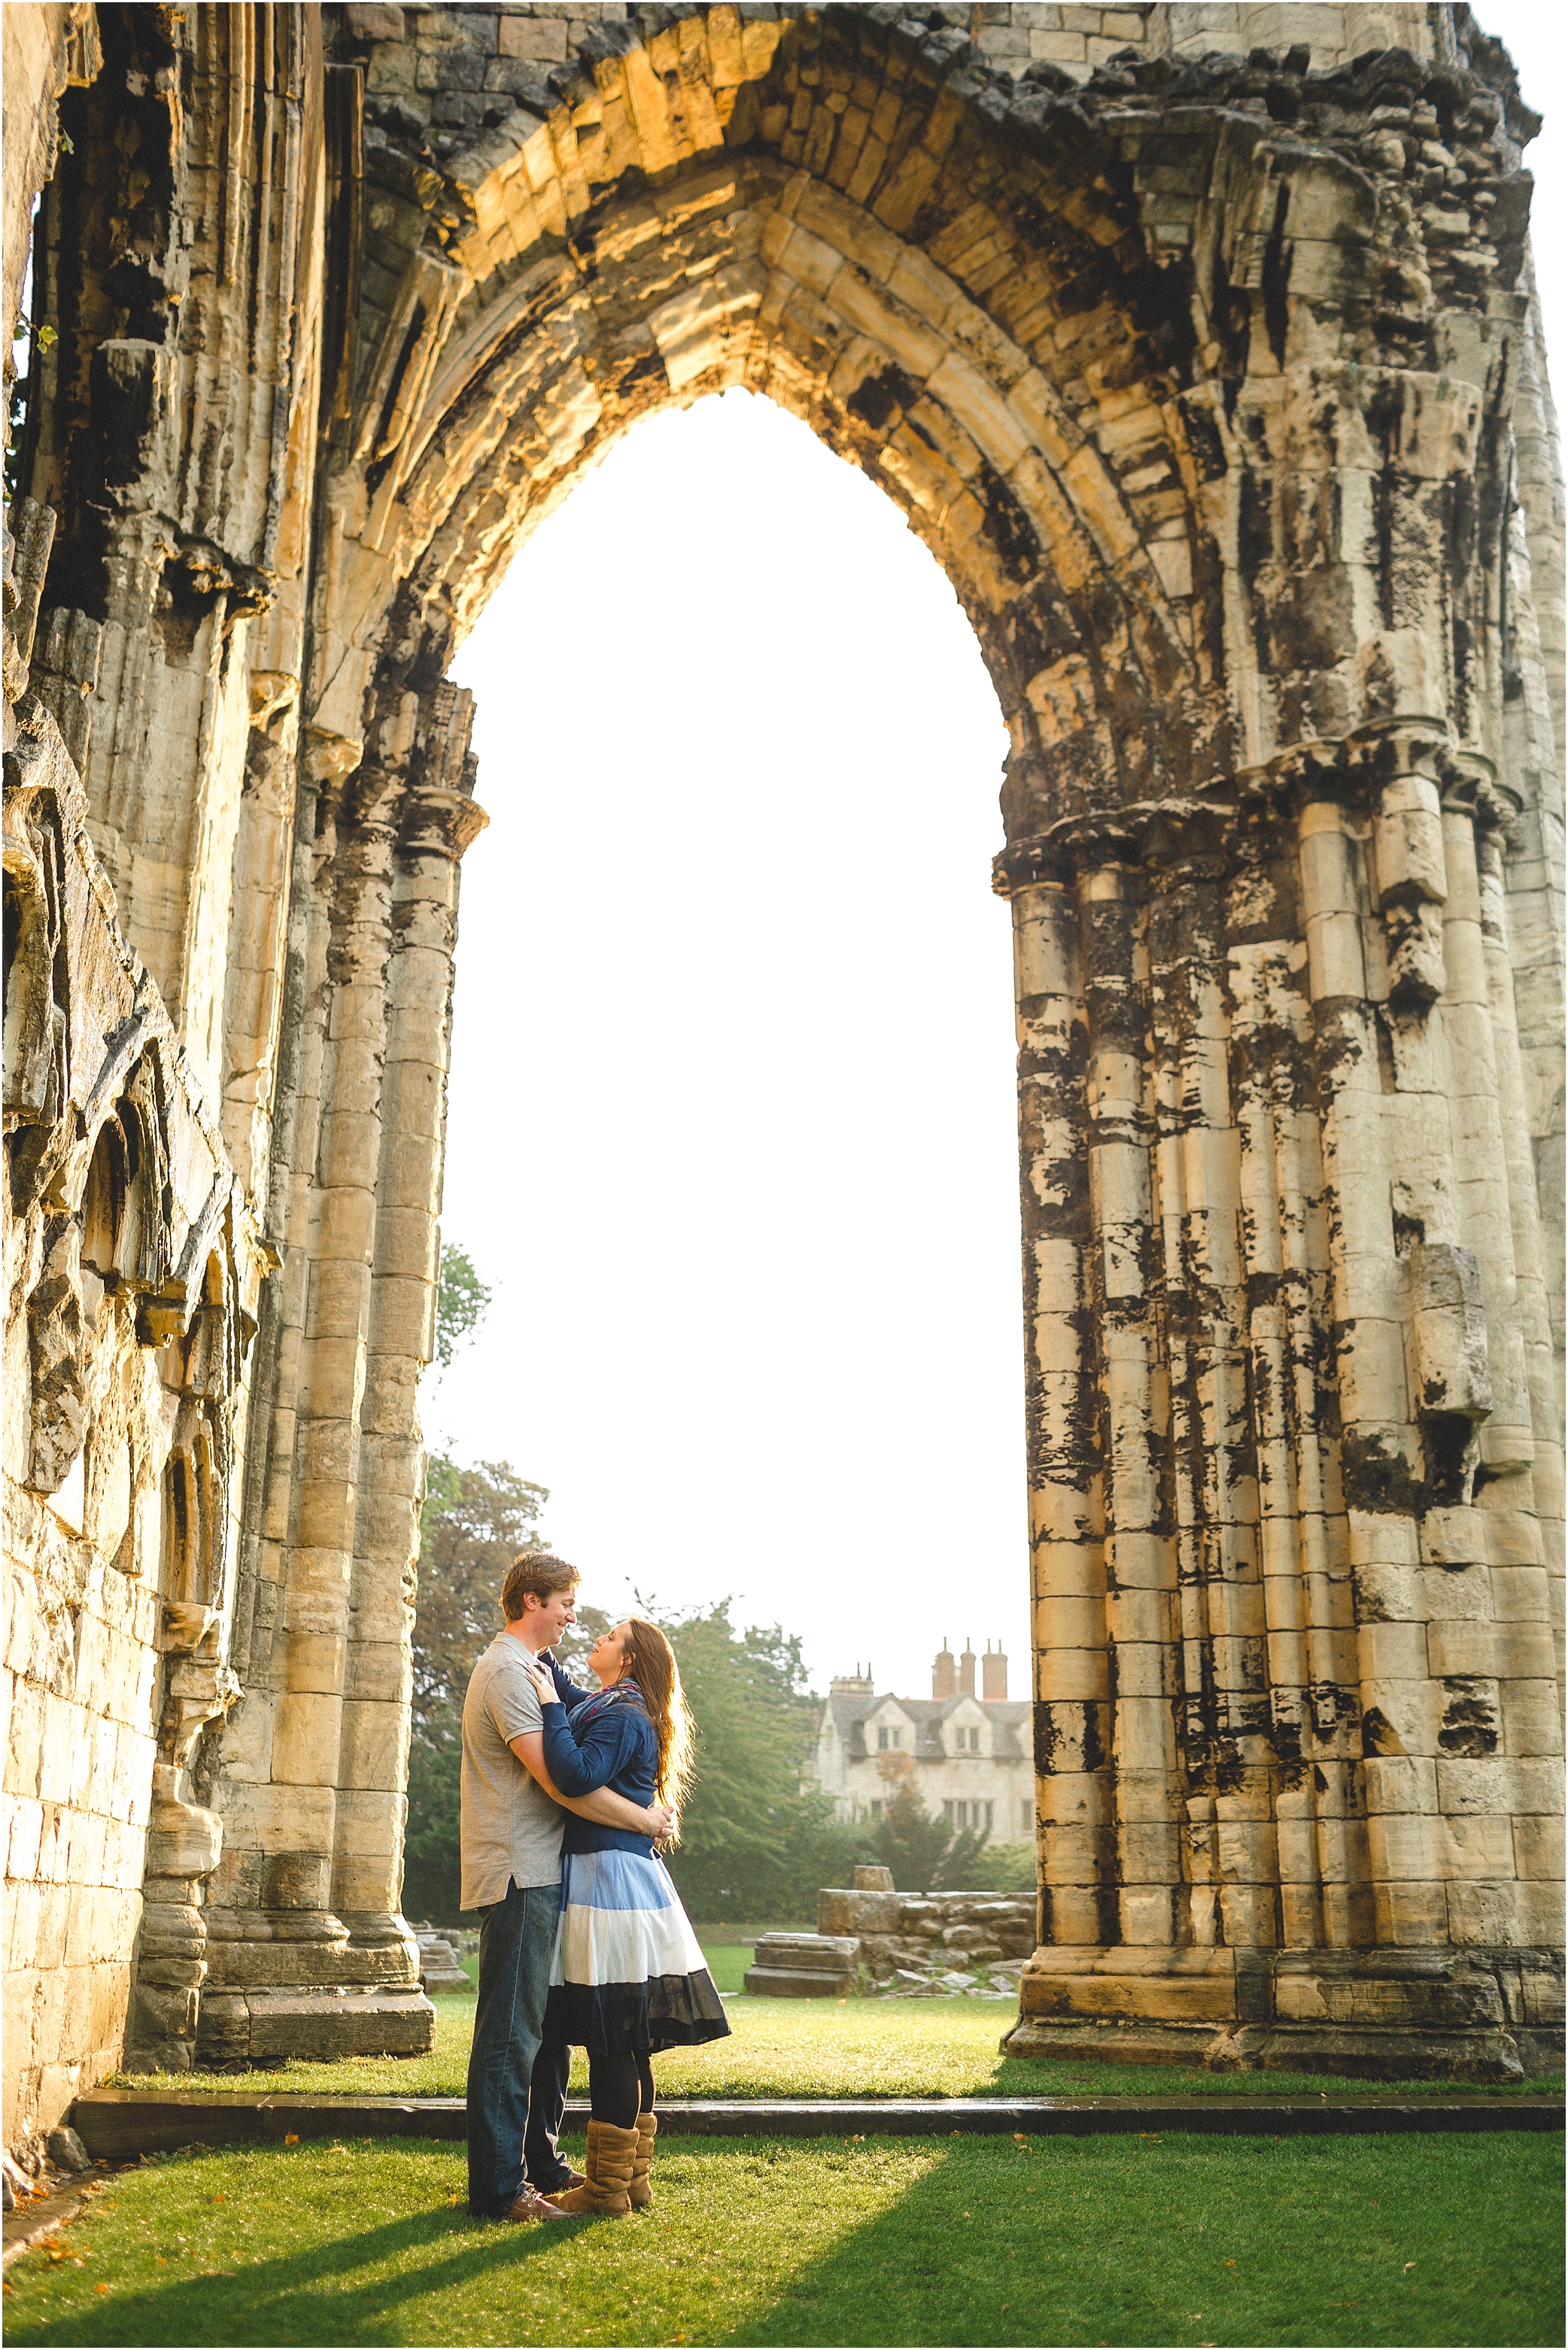
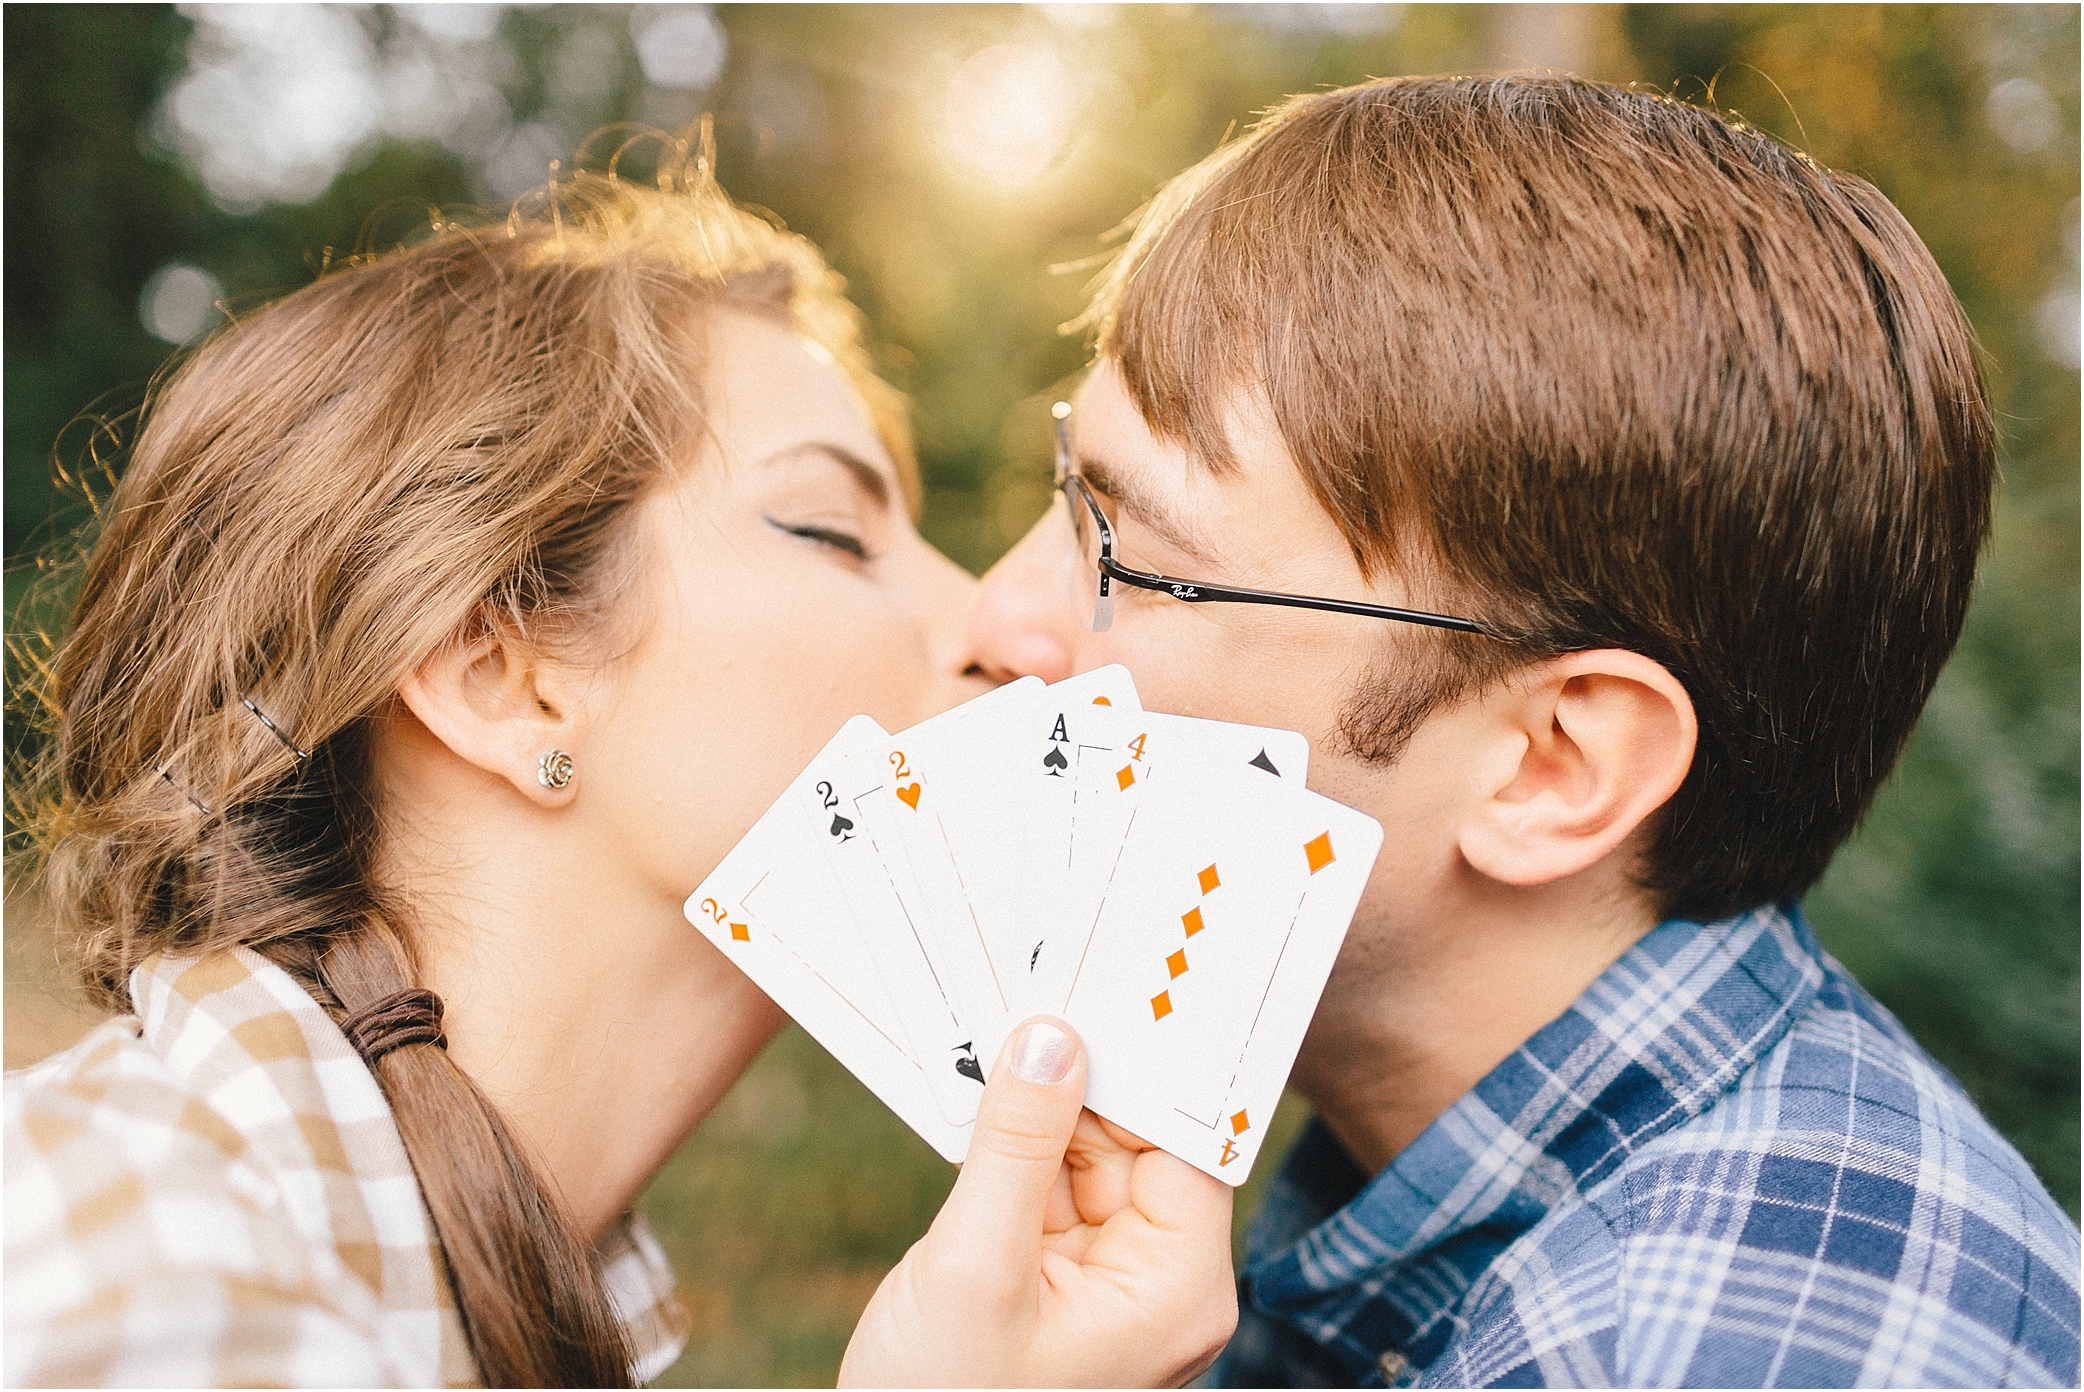
First, locate the sun behind the clouds and use the clouds and “real sun” as a giant soft box to light the camera side of your subjects. We like to position the light (in this case, our Einstein) behind the subject where there is something to diffuse the light if possible (i.e., trees or tall grass). The key to making it look real is to never let the light source be visible in the shot. You don’t have to point the light directly at your subjects. You can feather it across the background. By feathering the light across the background as well it adds to the shot and gives the look of the sunsetting across the grass, trees, background, etc.
In the example below, you will see the position of the sun, our camera, subjects, and the direction of our light source.
.jpg)
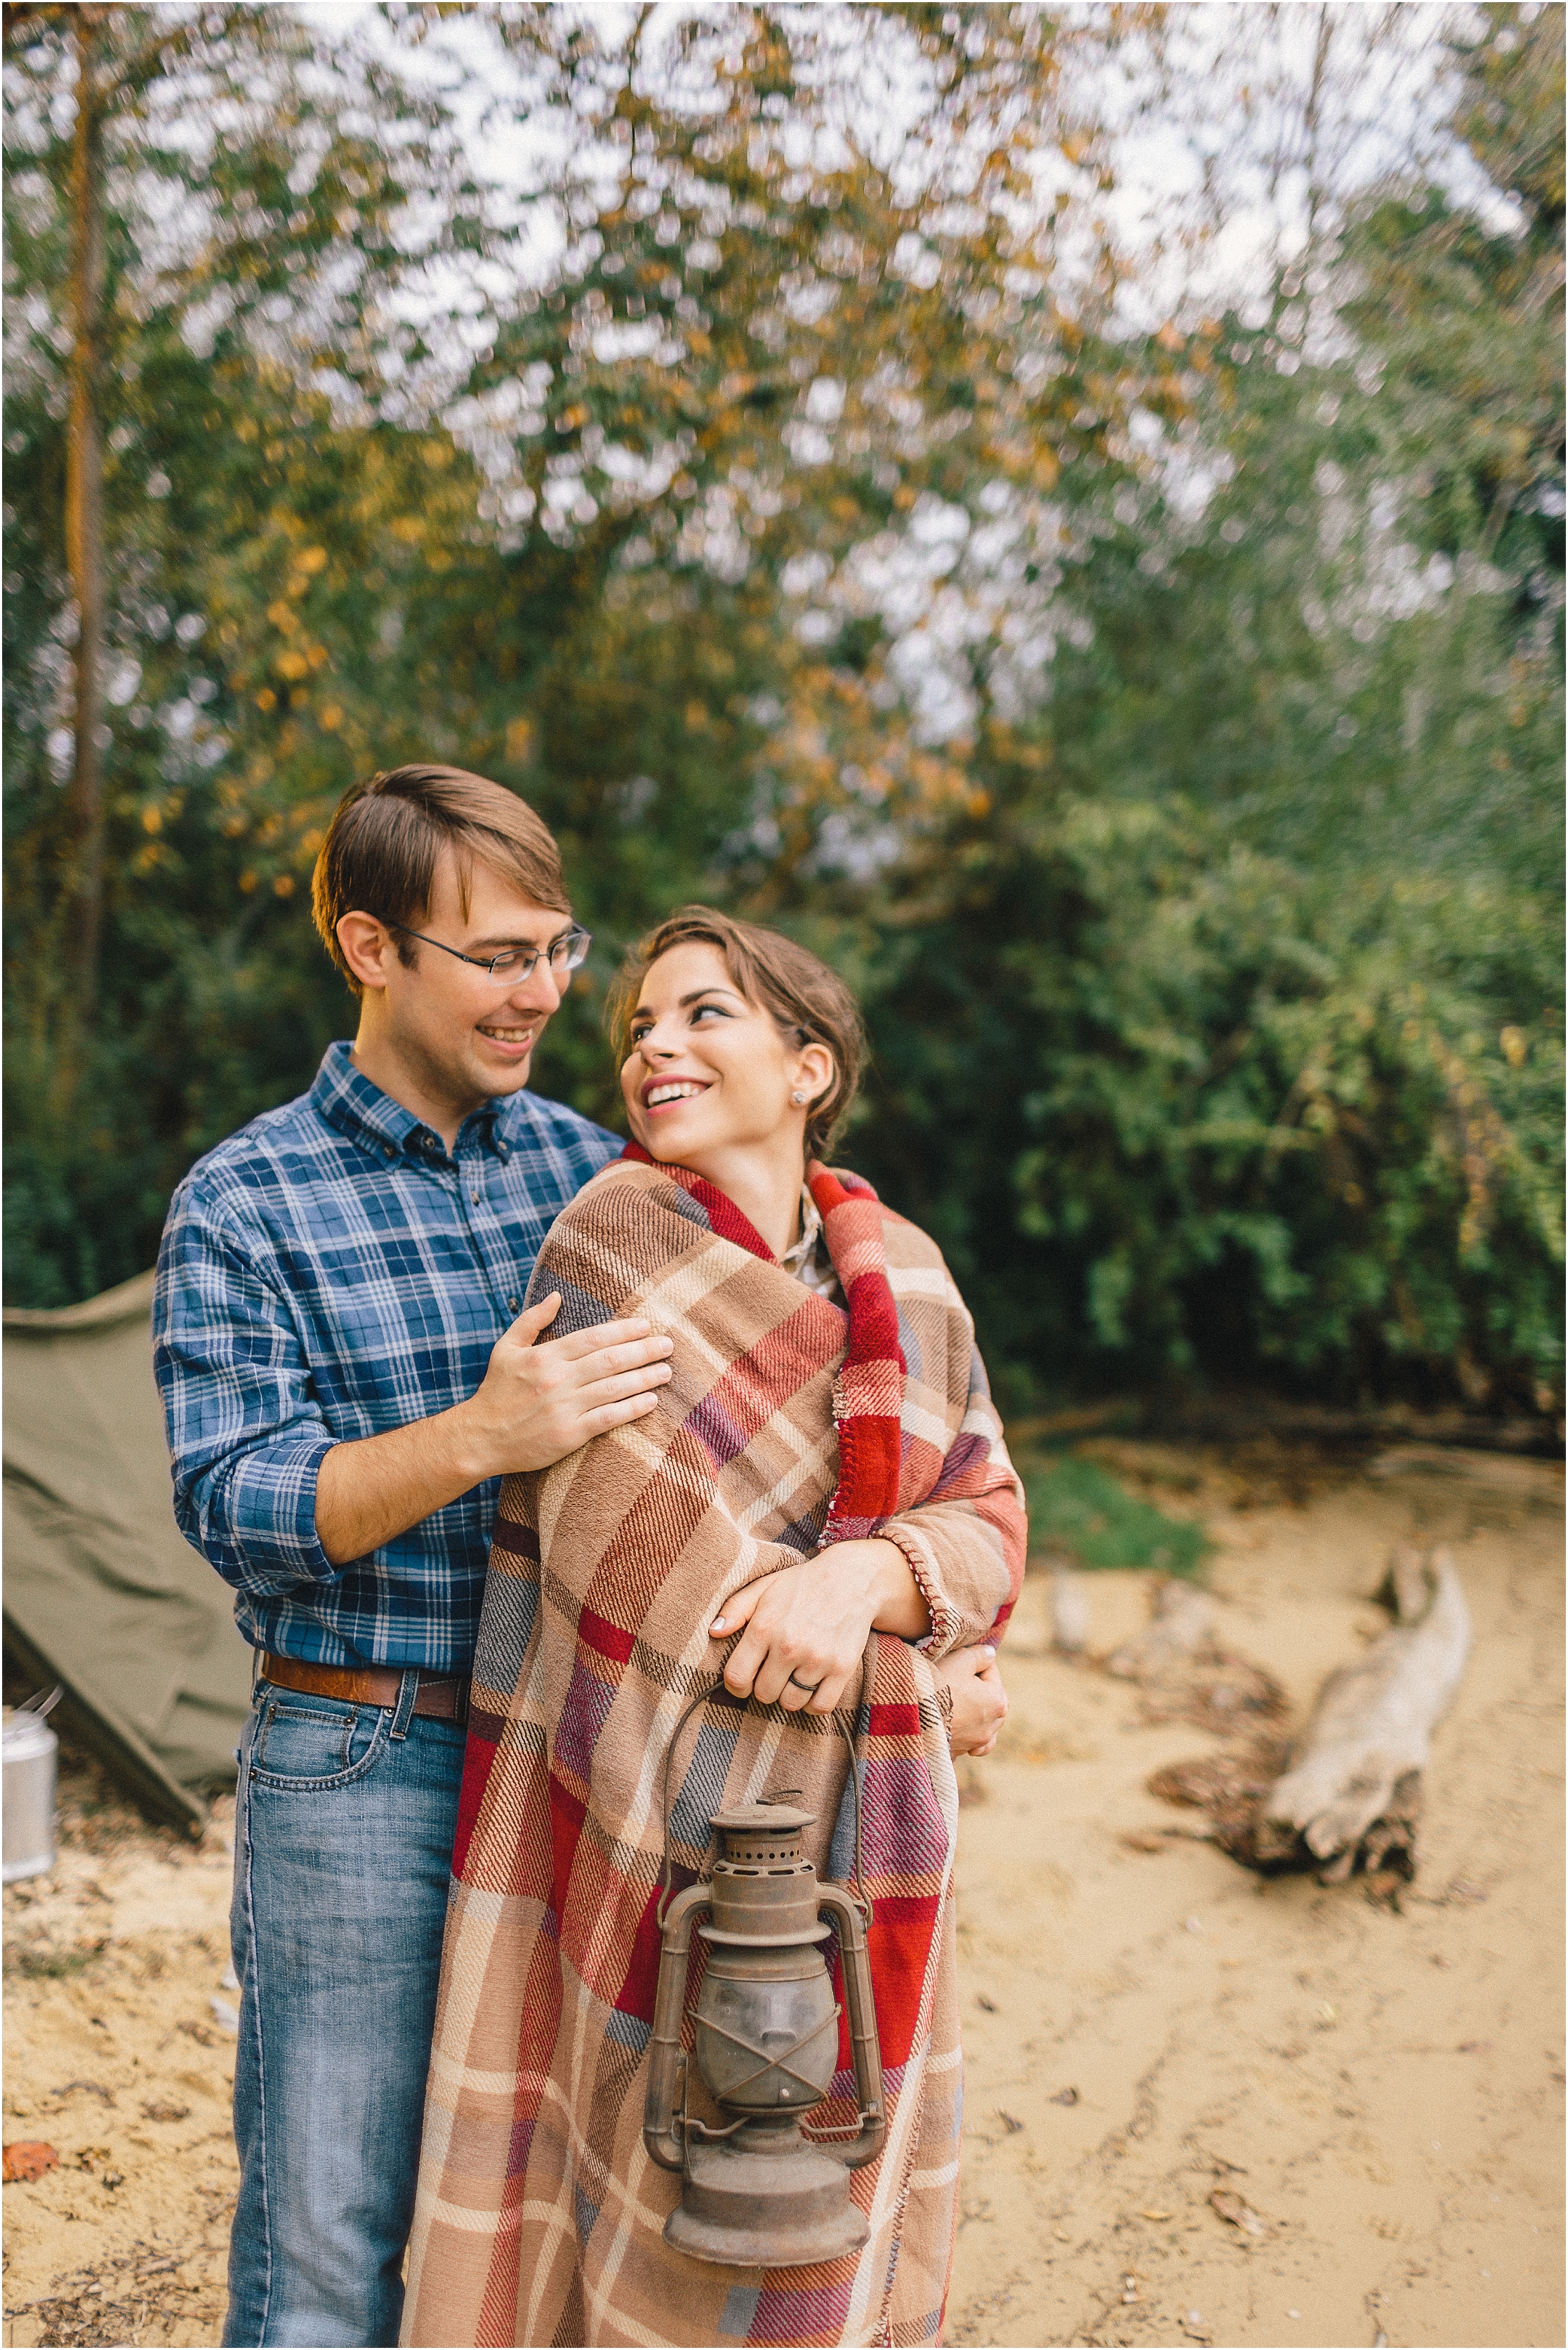
It’s also important to note what is in the distant background. For example, if you’re taking a wide shot and there is a row of trees not lit up by the light or artificial sun ; ) it is not going to look believable. Remember the sun is the furthest thing away, so it would’t make since if the sun was hitting your subject but not the trees behind the light, right? So you really have to think about your composition and everything that might be lit by the sun.
You can get this affect with most any mono light or strobe, but the light system we use is what makes it so easy and still work well for engagement sessions and family sessions. Remember, this isn’t a studio session, so the faster you can set-up and move, the better. We try to keep our engagement and family sessions moving and fun!
In the set-up shown in the photo below, we use an Einstein light, (http://www.paulcbuff.com/e640.php) powered by a vagabond mini, (http://www.paulcbuff.com/vm120.php) with an orange gel clipped to it. The orange gel is what makes it look like sunlight. A Lee orange full CTO (http://www.adorama.com/LE204.html) to be exact. You could use a 1/2 CTO or even different color depending on the look you want. We fire the light with the Cyber Commander remote, (http://www.paulcbuff.com/cc.php). We set our white balance to 5800K. A little warmer than 5200K Canon “daylight” setting.

The Cyber Commander remote is amazing! It allows me to adjust the strobe from the camera’s location without running back and forth to the strobe. It also has a bar graph with a watt second and f-stop output. This makes it very visually intuitive. I can take a photo, and then turn the strobe (sunlight in this example) up or down depending on the look I want by just moving the bar graph up or down.

The power output needed for the artificial sunlight depends on three main factors:
- Distance to subject.
- Desired f-stop.
- The object(s) you may or may not be shooting through.
We like to shoot at f2.5 or faster, so we usually spot meter (in camera) for the subjects faces and adjust the light up or down via the Cyber Commander. Take a test shot and examine the preview to see if you need to turn the power up or down. I usually set our Einstein to half power when we begin, that way I can power up or down quickly. What if I shoot film you say? You don’t have the advantage of seeing the result immediately. If you have an incident light meter, you can check your light output and make sure it is equal to or greater than your exposure f-stop. We usually fire about 1-3 stops above our exposure f-stop. The sun is really bright remember ; ) Our Einstein lights are 640 watt seconds. A speed light is about 80-100 watt seconds at full power, so they would work if conditions are right but would be limited. Many times, we fire our Einstein at full power, especially if we are shooting through tree limbs or another object. On brighter days, we need a ND filter for our lens if we want to keep the shallow depth of field because our sync speed is limited to 1/200th (Canon 5dmkIII).
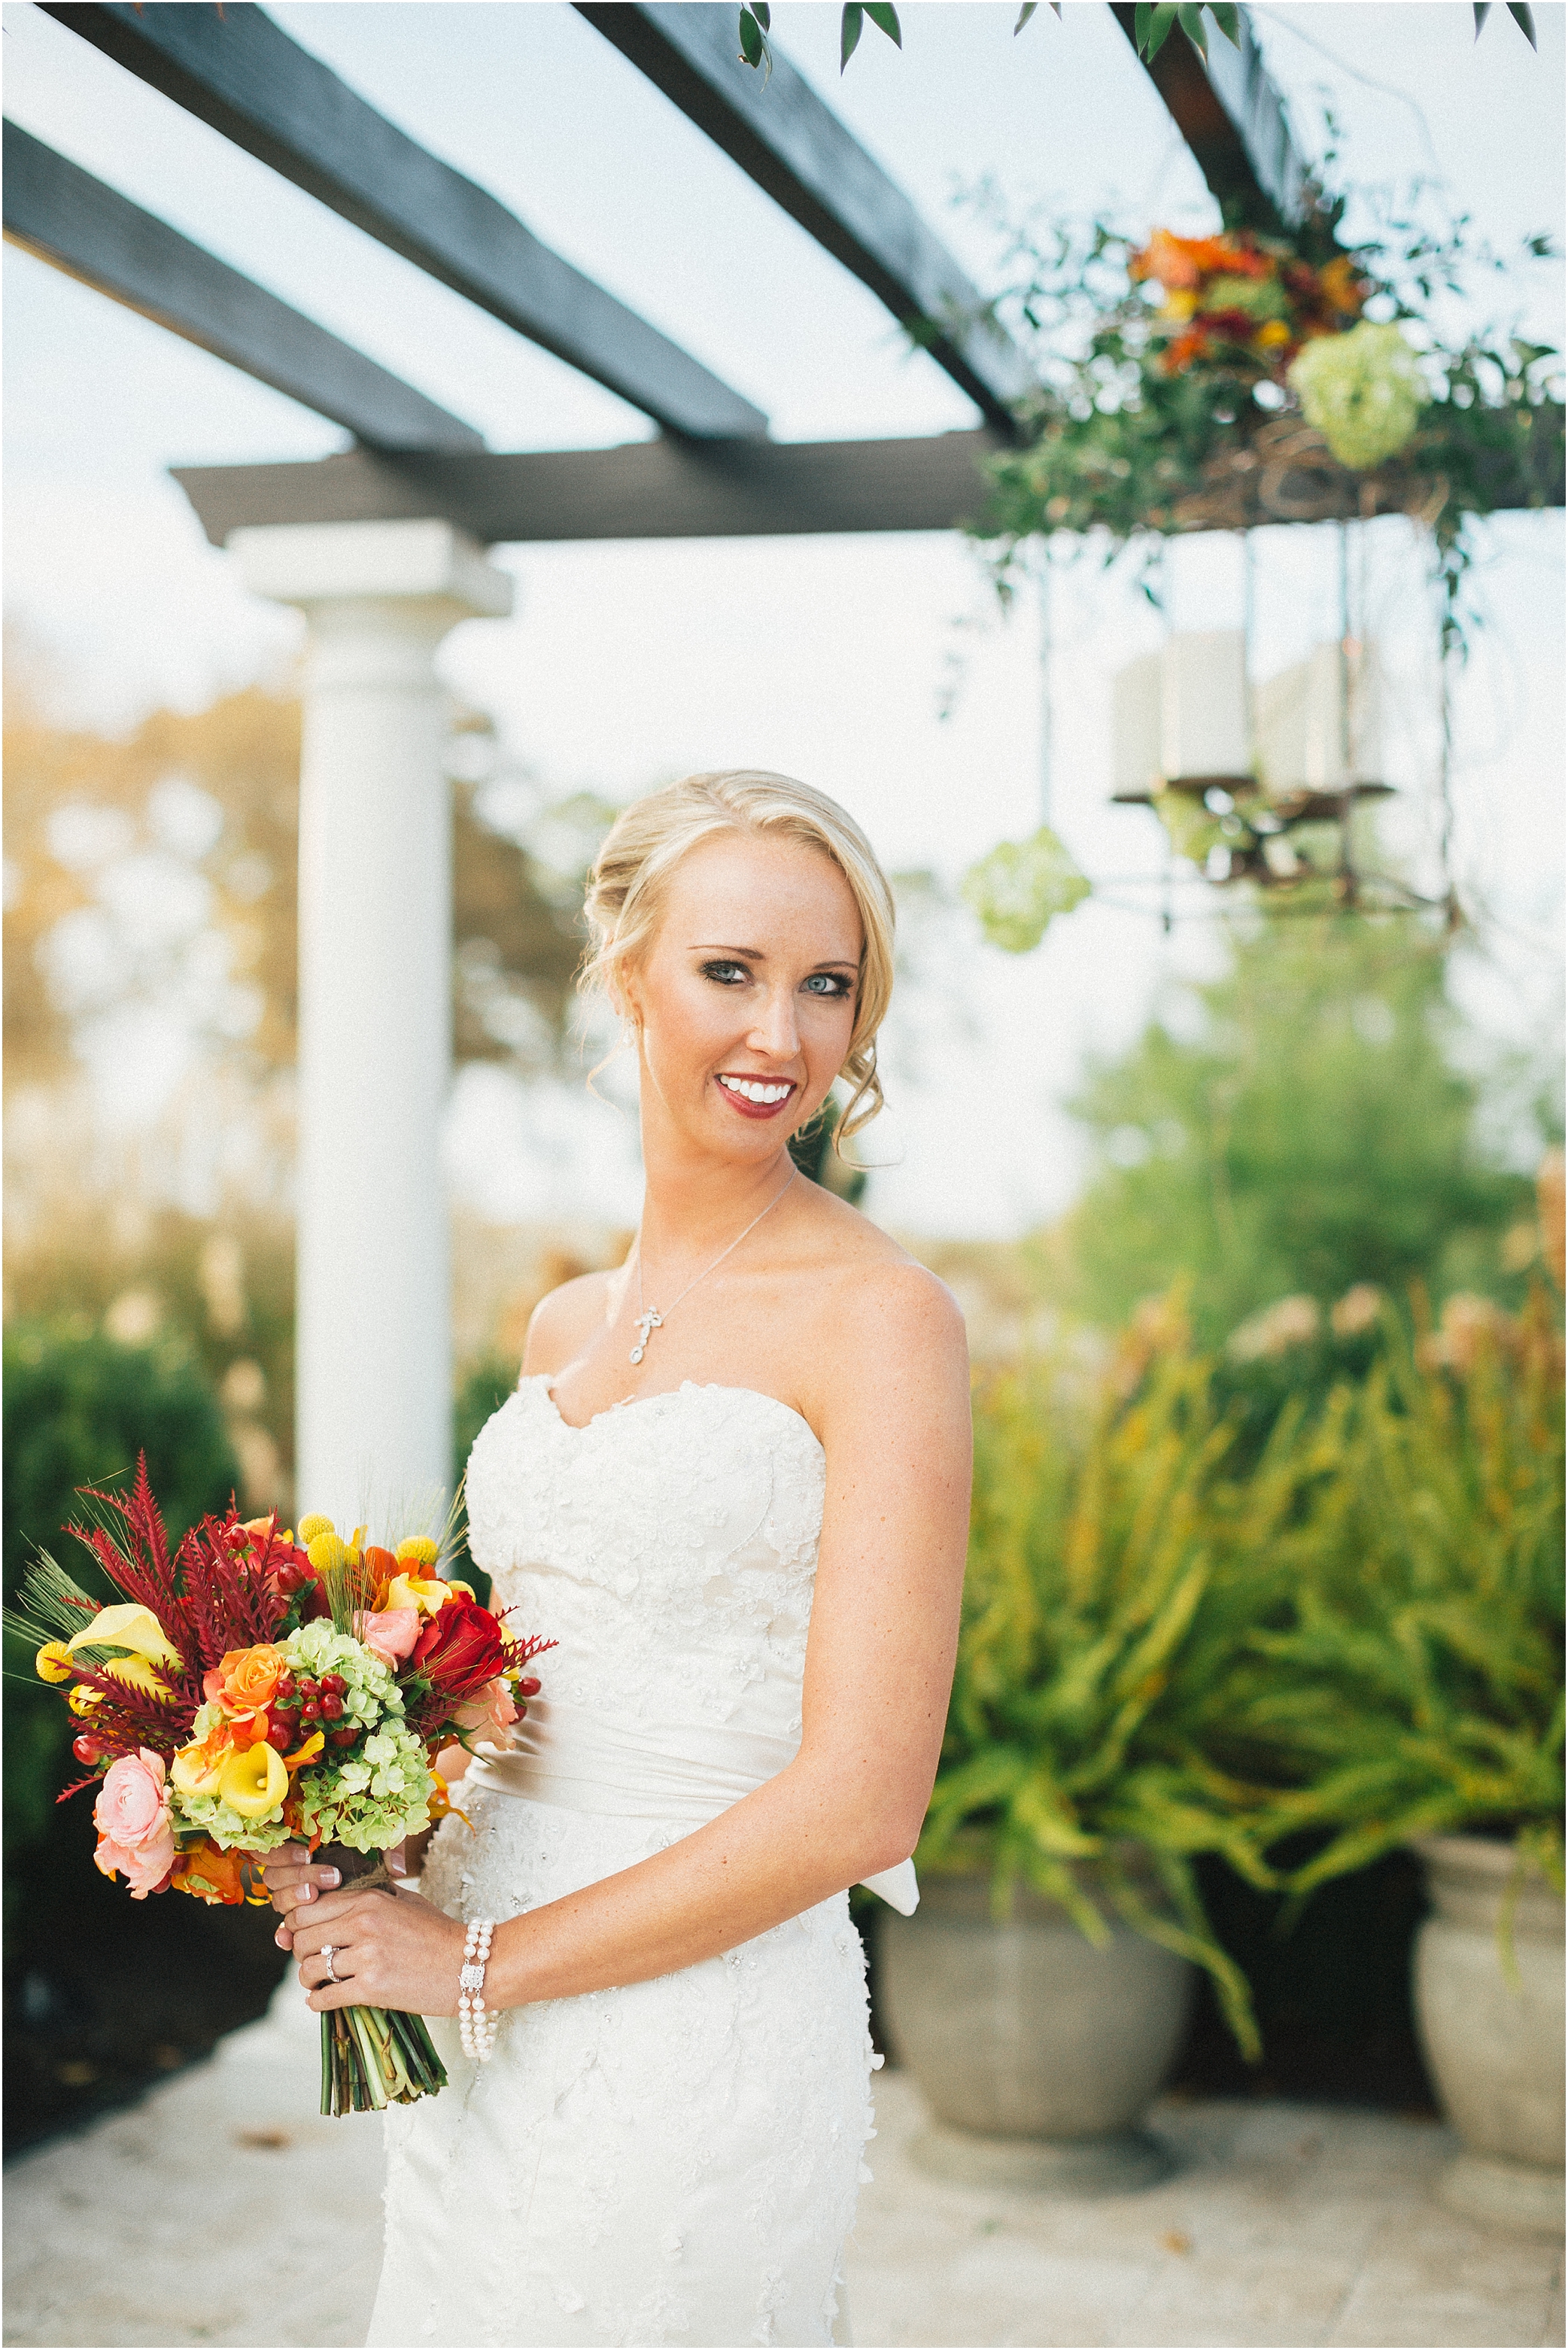
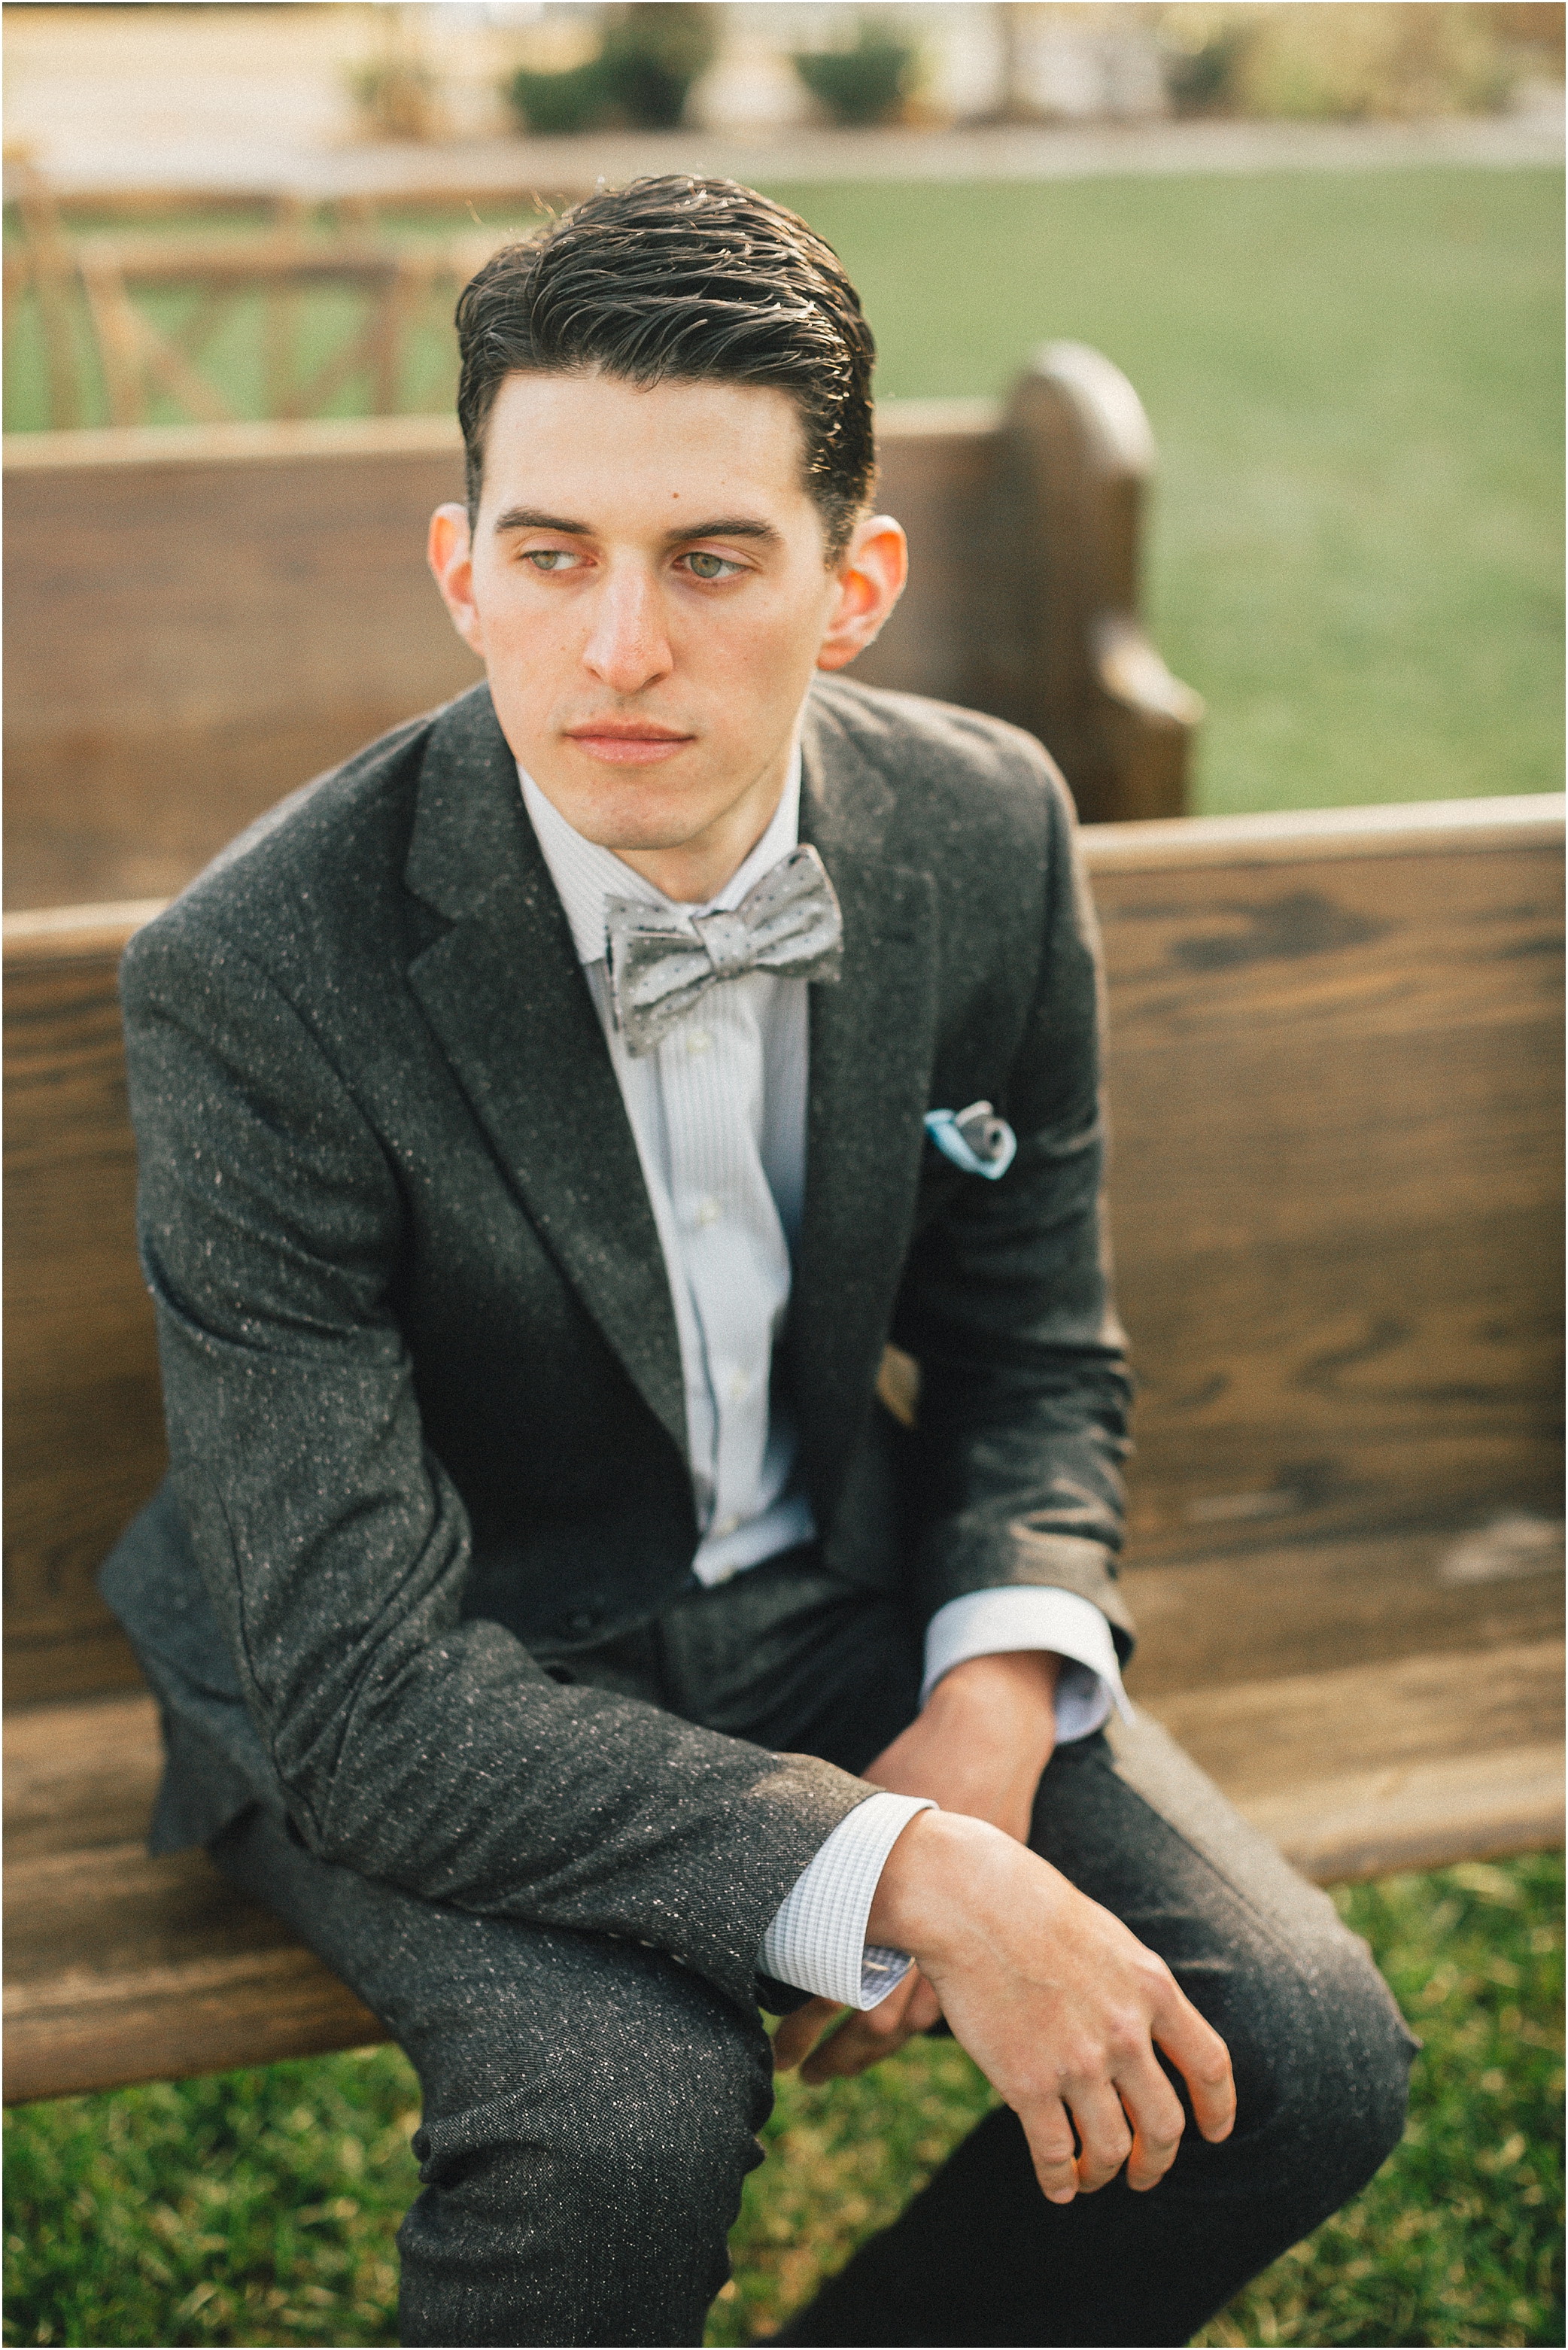
Try creating artificial sunlight the next time you have a spare moment and a cloudy day. Your clients will be thrilled with the result. After all, you did just capture sunshine on a cloudy day!
Interested in learning more?
Check out the full-day MoJo Workshop for professional photographers on Feb. 8, 2014, in Knoxville TN. The workshop will cover shooting with natural light, and creating artificial sunlight on cloudy days. Click here to learn more.
Examples of using artificial sunlight for photography


Watch the video below to see this live shoot!
Erika Cole – Knoxville Photography Shoot by JoPhoto from JoPhoto on Vimeo.
.jpg)
.jpg)